Maintaining the neat and tidy appearance of your lawn is essential for enhancing the beauty of your home and the value of your property.
To achieve this, you need to invest in the right tools and equipment, and one of the most essential tools for lawn maintenance is a Stihl weed eater.
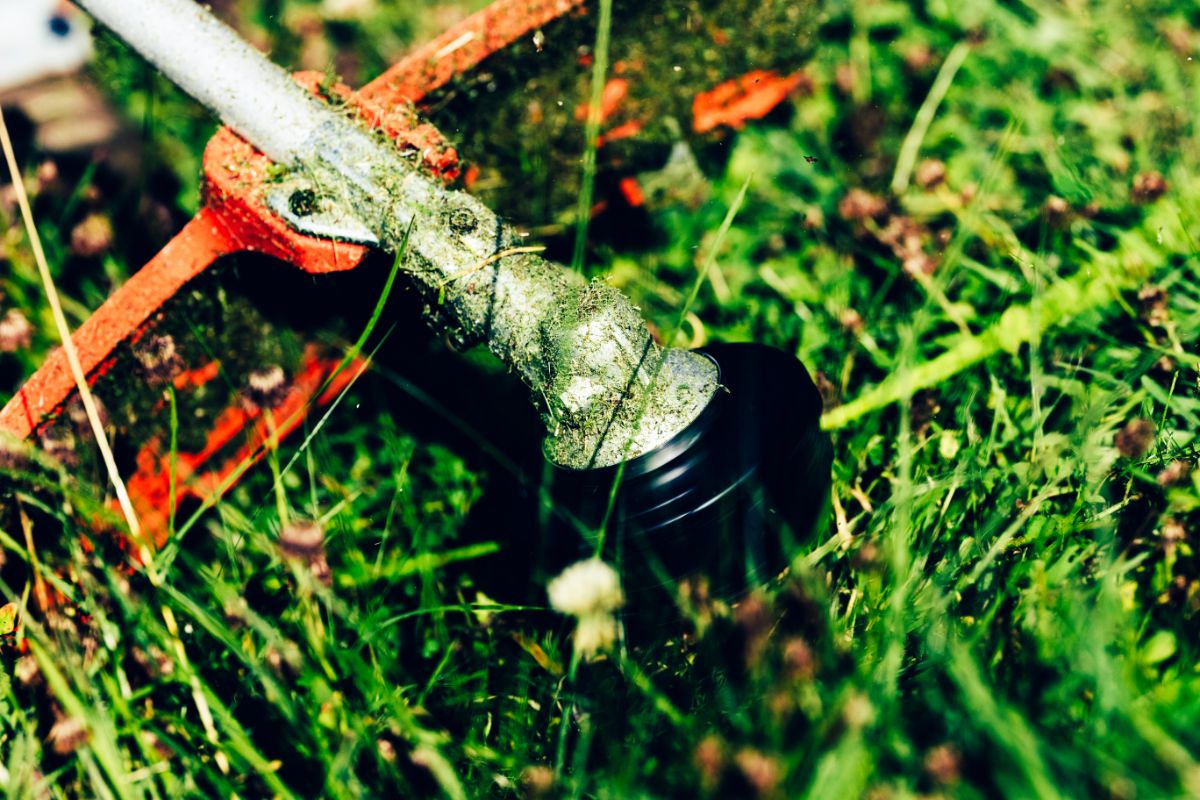
A Stihl weed eater is a versatile tool designed to trim the grass and weeds in hard-to-reach areas of your lawn, such as around trees, fences, and garden beds.
However, like all tools, a Stihl weed eater requires proper maintenance to function effectively and last longer.
One of the crucial maintenance tasks for a Stihl weed eater is replacing the string or line, which can wear out or break over time due to the wear and tear of trimming.
If you’re a new user or simply need a refresher on how to put string in a Stihl weed eater, you’re in the right place.
In this guide, we’ll take you through a step-by-step process on how to put string in your Stihl weed eater, including some tips and tricks to make the process easier and more efficient.
By following these steps, you’ll be able to load the string into your Stihl weed eater like a pro, ensuring that your lawn maintenance tasks are a breeze. So, let’s get started!
What Tools Do You Need to Put String In A Stihl Weed Eater?
To put string in a Stihl weed eater, you will need the following tools:
- Replacement string: Make sure you have the correct size and type of string recommended for your Stihl weed eater. The recommended size and type of string can be found in the user manual or on the spool housing.
- Scissors or a knife: You’ll need scissors or a knife to cut the new string to the appropriate length and to remove any remaining old string from the spool.
- Spool housing removal tool (optional): Some Stihl weed eaters come with a spool housing removal tool that makes it easier to remove the spool housing.
If your weed eater doesn’t come with one, you can usually use your hands to press the tabs or buttons on the spool housing and pull it off.
Having these tools on hand will ensure that you have everything you need to successfully put string in your Stihl weed eater.
How To Put String In A Stihl Weed Eater: Step-by-Step
Putting string in a Stihl weed eater may seem daunting, but with the right tools and guidance, it can be a simple and straightforward process. Here are the steps to follow:
Step 1: Preparation
Before you start, make sure you have the right type of string for your Stihl weed eater. Check the user manual or the spool housing for the recommended size and type of string.
Also, ensure that your Stihl weed eater is turned off and unplugged or has its spark plug disconnected for safety.
Step 2: Remove The Spool Housing
The spool housing is part of the weed eater that holds the string. To access it, remove the spool housing by pressing the tabs or buttons on the housing and pulling it off the weed eater.
Step 3: Remove The Old String
Once you’ve removed the spool housing, remove any remaining old string. You can do this by unwinding the string from the spool or cutting it off using scissors or a knife.
Step 4: Prepare The New String
Cut the length of the string according to the recommended length in your user manual. Fold the string in half to find the center, which will be used to anchor the string in the spool.
Step 5: Wind The String Onto The Spool
Feed the end of the string through the hole in the spool and wrap it around the spool in the direction indicated by the arrow on the spool housing.
Make sure the string is wound tightly and evenly, with no overlaps or gaps between each turn. Leave about six inches of string unwound to anchor it in place.
Step 6: Anchor The String
Anchor the center of the string in the slot or hole on the spool, making sure it’s securely held in place. Then, wind the rest of the string onto the spool, making sure it’s taut and aligned with the other string turns.
Step 7: Reassemble The Weed Eater
Once you’ve wound the string onto the spool and anchored it in place, replace the spool housing on the weed eater, making sure it clicks or snaps into place.
Then, feed the ends of the string through the holes on the spool housing and you’re ready to use your Stihl weed eater.
By following these steps, you’ll be able to put string in your Stihl weed eater like a pro, ensuring that your lawn maintenance tasks are a breeze. Remember to refer to your user manual for any specific instructions or troubleshooting tips.
Final Thoughts
Congratulations! You’ve successfully learned how to put string in a Stihl weed eater.
With the right tools, preparation, and following the step-by-step process outlined in this guide, you can easily maintain the performance of your Stihl weed eater and keep your lawn looking neat and tidy.
Remember to always use the recommended string size and type for your Stihl weed eater, as using the wrong type of string can damage the tool or affect its performance.
Regularly checking and replacing the string in your Stihl weed eater is an essential part of its maintenance, and doing so will ensure that the tool functions effectively and lasts longer.
Plus, having a properly functioning Stihl weed eater will save you time and energy when trimming your lawn, allowing you to focus on other tasks.
We hope that this guide has been helpful in assisting you with how to put string in a Stihl weed eater. By following these steps, you can feel confident in loading the string into your Stihl weed eater and maintaining its performance for years to come.
Remember to always prioritize safety and consult your user manual for any specific instructions or troubleshooting tips. Happy trimming!